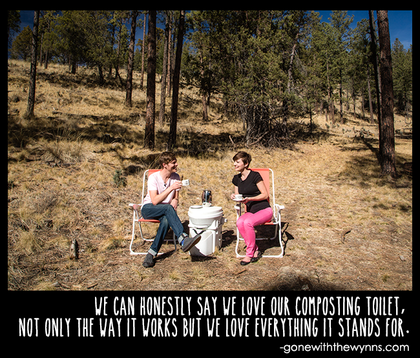
Before we dive in, first things first, if you don’t know what a composting toilet is, or why we wanted one, read our post titled Composting Toilet: What is it and Why you Need One.
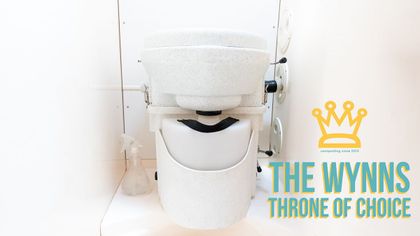
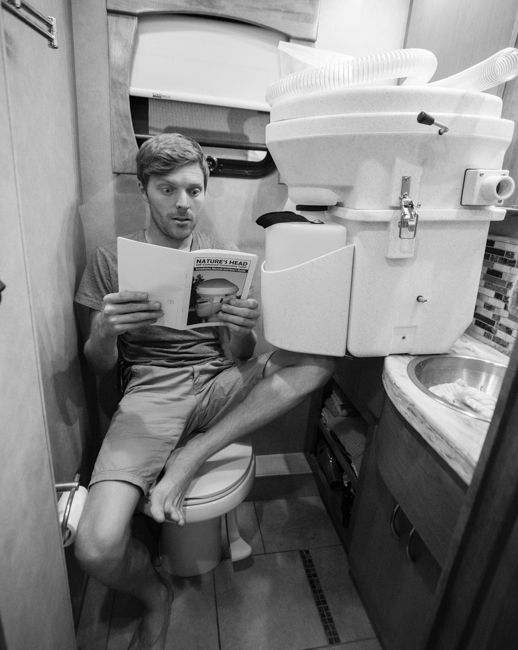
Ok, now we can get down to business! Our Nature’s Head composting toilet arrived pre-assembled with “everything” needed for installation. I read over the instruction and installation manual several times and thought “hey this toilet is crazy simple to install”: 4 screws, one exhaust vent and a simple splice into 12v power. I could explain the pains of installation in detail, but I’ll let this how to NOT install a composting toilet video sum it up and save me the repeated embarrassment.
This is the longest video we’ve ever produced (I’m sorry) but it gives you an idea of what the process is like for installing a composting toilet in an RV. When you break it down the install is super simple…it’s mainly the user (read “Jason“) errors and the unfamiliarity of working on the RV that cause the issues. So what did I learn that might help you with your install?
Toilet does(n’t) come with everything you need – The toilet has everything needed for install, it just comes up a little short for most RV installations. You’ll need to purchase a lot more wire, a longer exhaust vent tube, silicone, electrical tape, wire nuts, battery terminal connectors, multi-meter, rotary tool and so on. Also you’ll need to secure some peat moss or coconut coir in advance because you don’t want to remove the standard toilet before you have the composting toilet ready to use.
Use wood – If you’re not sure how long you’re planning to keep your RV, or if you don’t want to damage the floor, installing the toilet on a piece of water resistant plywood is the best way for the non-committal type. This allows you to remove the composting toilet and reinstall the flush toilet without replacing the floor.
Direct connect to the battery – Don’t waste your time looking for a power source, just run the wire directly from the toilet fan to the house battery. This will make the process go much more smoothly and will be easier to troubleshoot if there are issues with the fan losing power. This simple item would have saved me a minimum of 6 hours.
Pulling the exhaust tube – I wish I had the correct tool to remove the white plastic piece in the wet bay. Remove those few screws and pulling the exhaust tube would have been a 5 minute process instead of a 3 hour process!
The Unknown Plug – I cannot tell you how many people are looking for the red plug I used to seal the drain pipe. Here is the link on Amazon for the 3″ I used http://amzn.to/24EvbSN (BTW now it’s a yellow plug, & make sure you measure and buy the correct size)
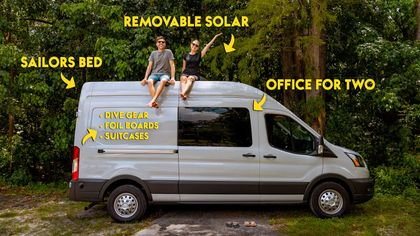
A Major Water Upgrade – What to do with the empty black tank? We’ve considered 2 options, but we’re still on the fence on which will be best for our needs:
- Remove the black tank and add another fresh water tank! This would allow us pack an extra 30 gallons of fresh water for those long stints of Wild Camping we love to do. 30 gallons is like adding 3 more days to our vacation from civilization.
- Convert the black to a second grey! Install a simple pipe that will allow the black tank to fill up with grey water. This comes in handy when staying at a campground that has a water connection but not a sewer at the site (for example most state parks, national parks, and many Thousand Trails parks).
The best piece of advice I can give: Find a big RV resort that has a woodshop or workshop on location. Talk to the shop foreman and tell them what you’re doing, they will have the tools and expertise to help make your life much easier during the install. I can’t tell you how many times I thought of all those resorts we visited in Arizona with the giant workshops, and all those fancy tools….Why didn’t I think of this before?!?
If you’re interested in buying our same composting toilet, the best place to purchase is directly from Nature’s Head.
Larry, the owner of Nature’s Head, has offered up a special discount to everyone that reads our site. If you click the link below he’ll beat the Amazon Price:
Buy From Nature's Head Directly
The main advantage of ordering direct, vs Amazon, is to make sure you get the options you need for your specific installation (i.e. do you need the spider handle? Do you need a solar fan? Do you need spare parts?) Click the link above, select your configuration (we have the Spider handle with extra Liquids Bottle) and at checkout the discount will be automatically added.
If you’re still in research mode you’ll want to visit our site just before you purchase to click the link above, otherwise the discount may not be automatically applied. If you have questions, the customer support team is extremely helpful and can be reached by email or phone which you’ll find on the Nature’s Head contact page.
The discount code will change every quarter, so if you’re still in research mode you’ll want to visit our site just before you purchase to get the latest code. If you have questions, Larry is extremely helpful and can be reached by email or phone which you’ll find on the Nature’s Head contact page.
Have you ever installed anything in your RV? Think the install should have been easier? Planning on installing your own toilet? Think Jason should keep his day job? Share your two cents with us in the comments below!