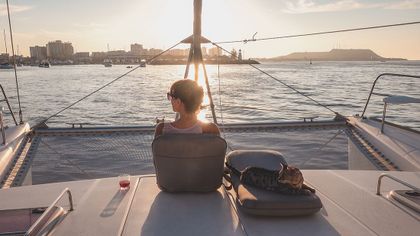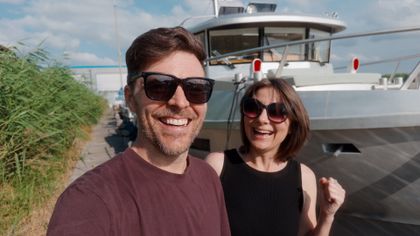
Exotic location and broken bits!?! We’re living the dream. Fixing things in exotic locations is the definition of sailing and it would seem we’re working hard to keep it true.
Our windows are falling out, our watermaker is broken and our bank accounts are frozen. Jason has hit his limit and he’s leaving the boat, and me, behind.
Ok, maybe I should clarify some of that before you go jumping to any conclusions.
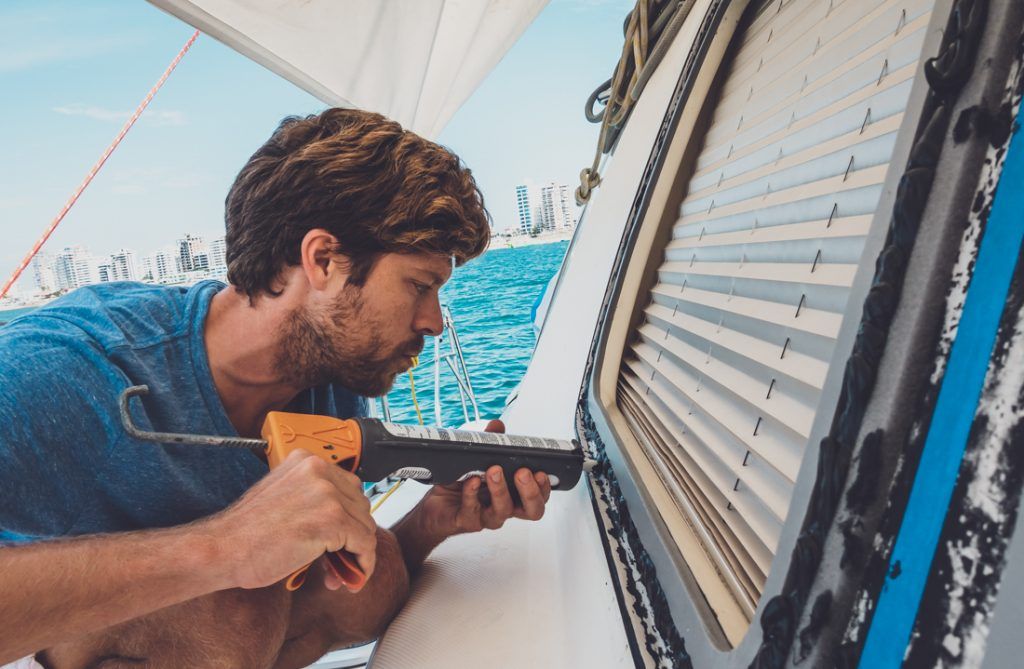
Our windows are indeed falling out, but slowly. Technically speaking, they are delaminating but we can’t ignore the issue any longer…or they really will fall out.
Our watermaker is broken, but hopefully can be fixed. We need to rebuild the valves in our high-pressure pump and replace the low pressure pump…but these are specialty parts and of course we can’t get them here in Ecuador.
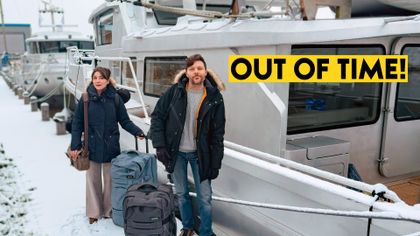
And, to top it all off, our bank accounts are frozen, and Jason is in fact leaving the boat. Better hit that play button before I drop any other spoilers.
But seriously, having a beautiful location does make boat projects more fun. It should be a requirement for any project really. Because if you are going to fix broken bits, why not do it in a beautiful, exotic location!
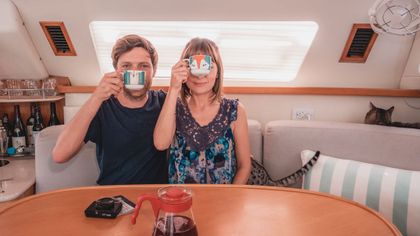
As for the frozen bank accounts, well, the beach view doesn’t do much for that PITA. We’re all for secure banking, but seriously? We had been thinking about switching to a more “international” bank. I guess Chase just bumped up our time-frame. But, more on that next week.
Comments, questions or just want to join in on the conversation? Leave us a note in the box below.
Thank you for joining us! It’s people like you that make sharing the journey possible. If you want to learn about ways you can help, check out our Say Thanks page.
Almost, But Not Quite Everything You Need To Know About Repairing Delaminated Windows On A Sailboat
We’re not experts and this is NOT a how to. But, here’s how we tackled the project and the things we learned along the way. If you have frameless sailboat windows to tackle, hopefully this helps give you an idea of the project ahead. If you’re in a Leopard like us, we’ve been told this massive project needs to be done every 5-8 years. My personal thoughts: Screw the frameless windows, I’ll take a window frame any day if it means we won’t have to do this again!!!
A huge shout out to our mentor and friend Kent. He’s always just an email away and I can’t imagine taking on projects like this without his Afrikaans accented words of wisdom.
Supplies/Instructions: (Important to remember this is all based on our 43 Leopard Catamaran)
- Prep Work Area – Put a drop cloth or painter’s plastic all around work area. Use lots of removable tape on the top edge, you don’t want black caulk getting under the drop cloth/plastic.
- Remove Window – A sharp utility knife works well to cut away a section of caulk from the window. Followed by lots of chisel and rubber hammer use. I have this 3 piece chisel set and it works great: https://amzn.to/2NzN2pX
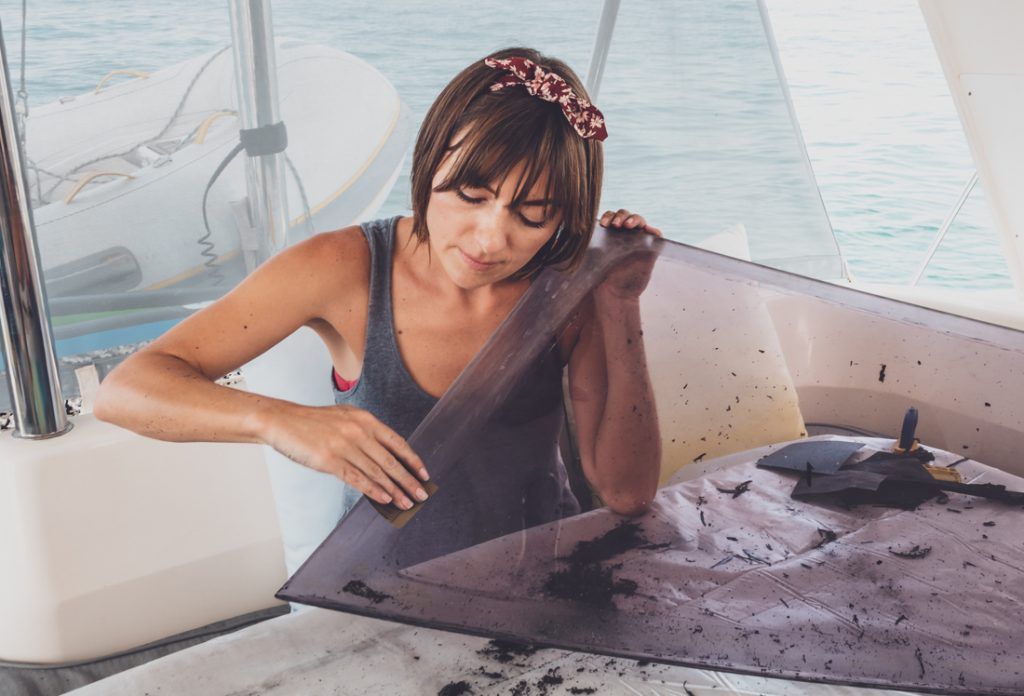
- Clean the Window Install Area On Boat – Chisel, sand and repeat. You must remove all caulk residue. We used Sika remover towards the end, followed by Isopropyl Alcohol.
- Sand Windows – You’ll want to sand down the area around the window where the caulk will adhere. I used 180 grit sandpaper. Apply removable painters tape where you do not want to scratch. Clean the sanded area with Alcohol.
- Prep Washers and Shims – While your window area and windows are clean, dry place the window to measure shims and mark on the fiberglass with pencil where your screws/washer will go. You’ll need these to help hold the window in place while the caulking dries. We used self-tapping 1” screws with large washers we covered with painter’s tape to prevent scratching the boat/window.
- Paint The Frame – With the window area still taped off, use caulk (https://amzn.to/2A1e1sE) to paint a black frame on the bonding side of window. Make sure your tape is layered nicely and has neat clean edges. You will see your finished edges so it’s important to get the tape just right. (Tip: If you stack the tape you can remove it all in one pull.) Remove Tape Immediately before caulk cures. Let dry/cure.
- Prep Install Area
- Foam Tape – Install ½” x ¾” wide foam tape (typical window foam like this: https://amzn.to/2LfMJDZ) around inside perimeter of window. Black is most common but we could only find grey in Ecuador. This gives a nice finished edge to the window and keeps the caulking in place.
- Wipe clean all bonding areas with alcohol one last time. It’s very important to have clean surfaces. No dirt, oil or debris. Clean, very dry surfaces.
- Create a shaded work area if possible. Best not to caulk in direct sunlight.
- Caulk Time – Dow 795 black & I think we use 18 tubes? I would buy 20 to be on the safe side. https://amzn.to/2A1e1sE . Apply very thick beads of caulking in the middle bonding areas, at least 9/16” thick. For the thinner top and bottom areas you will want less.
- Time to put in that window – Place the window to caulking (have the shims ready to rest window on).
- Screw the screws into your marked holes (you did this earlier, dry placing the window). Use the washers to bridge gap between window and fiberglass. Windows should be flush with fiberglass. Do NOT over tighten the screws!!!
- Allow to cure 3-4 days
- This is as far as we made it in this video. You will see the next steps, in next weeks video. Stay tuned!!!
- Prep For Final Bead – Again, work in shaded area if possible. Remove screws and shims. Tape off the edges of the windows and the boat. This will protect the area and you’ll have far less cleaning up to do after. Get a bowl of soapy water (dish soap & water), a teaspoon, paper towels and trash bag.
- Final Bead – Open a few tubes of caulk. Apply a heavy bead sufficient enough to fill gap. Dip the spoon in the soapy water, pull bead along, wiping spoon clean with paper towel and discard. This is by far the most challenging step. I should have done this part much earlier or later in the day. It was hot out and the caulk was curing too fast. Also, keep your spoon wet. Dip it in the soapy water every time you go to swipe. Otherwise it grabs the caulk and makes a mess. I bought small spoons and that was a mistake. Use larger spoons, like ones you’d use for cereal.
- Remove tape as soon as you are done. Wait for it to cure before attempting any further clean up. Anything you try to do at this point will only cause issues. Walk away I say, walk away! My OCD was in overdrive. I wanted it perfect (not possible, the boat isn’t perfect) and I kept trying to fix every little thing…to which I only exacerbated. Kent warned me, I didn’t listen and I should have.
Curious About Our Camera Gear?
- All Our Camera Gear Here: gonewiththewynns.com/camera-gear-review-2017
- All our fave gadgets and gear can be found in Our Gear store: gonewiththewynns.com/store